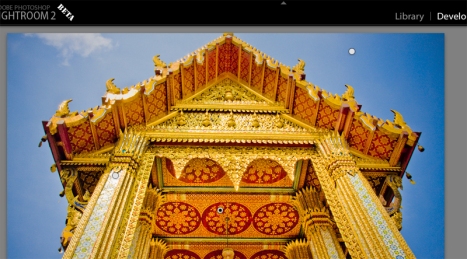
The new Retouch Brush seems to be the best feature of Lightroom 2.0. I was curious to see how I could apply it to an image as part of post-processing. Here’s what I did – I opened up a recent photo from my Bangkok trip.
I have already done my basic LR adjustments to the image and my next step would probably be to open the image in Photoshop and then do a Shadow/Highlight Adjustment Layer do bring up the shadows. I realized that this would be a great example of where the ‘Retouch Brush’ would help me. I could specifically target certain areas and then adjust the tone of that area alone and make them brighter. After some adjustments, here’s a before-and-after look of the image:

Note: click on the image to see the larger version.
As you can see, the middle part of the temple lit up very well compared to the original one. It’s like there’s a light coming from the inside of the temple when I took the shot! 🙂
How did I do it? Simple – here’s a snapshot of what happens when you select the Retouch Brush. Notice that there a small dots that shows you have an area selected. If you can’t see the dots, there are 2 of them: 1 in the sky and 1 in the red circle in the middle.
Note: click on the image to see the larger version.
Once you have a spot selected, make sure that the spot marker has a black dot on it. That means that it’s the spot that you’re currently working on. And then, you just paint, and paint (or brush) the areas that you want the adjustment to work on. For my purposes the ‘Auto Mask’ option was also turned on. The mask that I created in this instance is seen below:

Note: click on the image to see the larger version.
If you see the bigger photo, you can see that I adjusted the exposure, brightness and clarity sliders. Those 3 sliders alone made a huge difference in the photo and in lightening up the shadows!
Well, that’s it for now. I have to play around with the other features of LR 2.0 Beta. I noticed that it’s a bit slow especially in rendering the photos with the adjustments I made above. I don’t know why… I hope the final version will improve in this aspect.
Oh, and before I forget, the 2 best things about why this feature rocks: (1) no Photoshop is required; I saved a on disk space since I didn’t have to create a PSD file and (2) the changes are non-destructive! They can easily be reverted back!